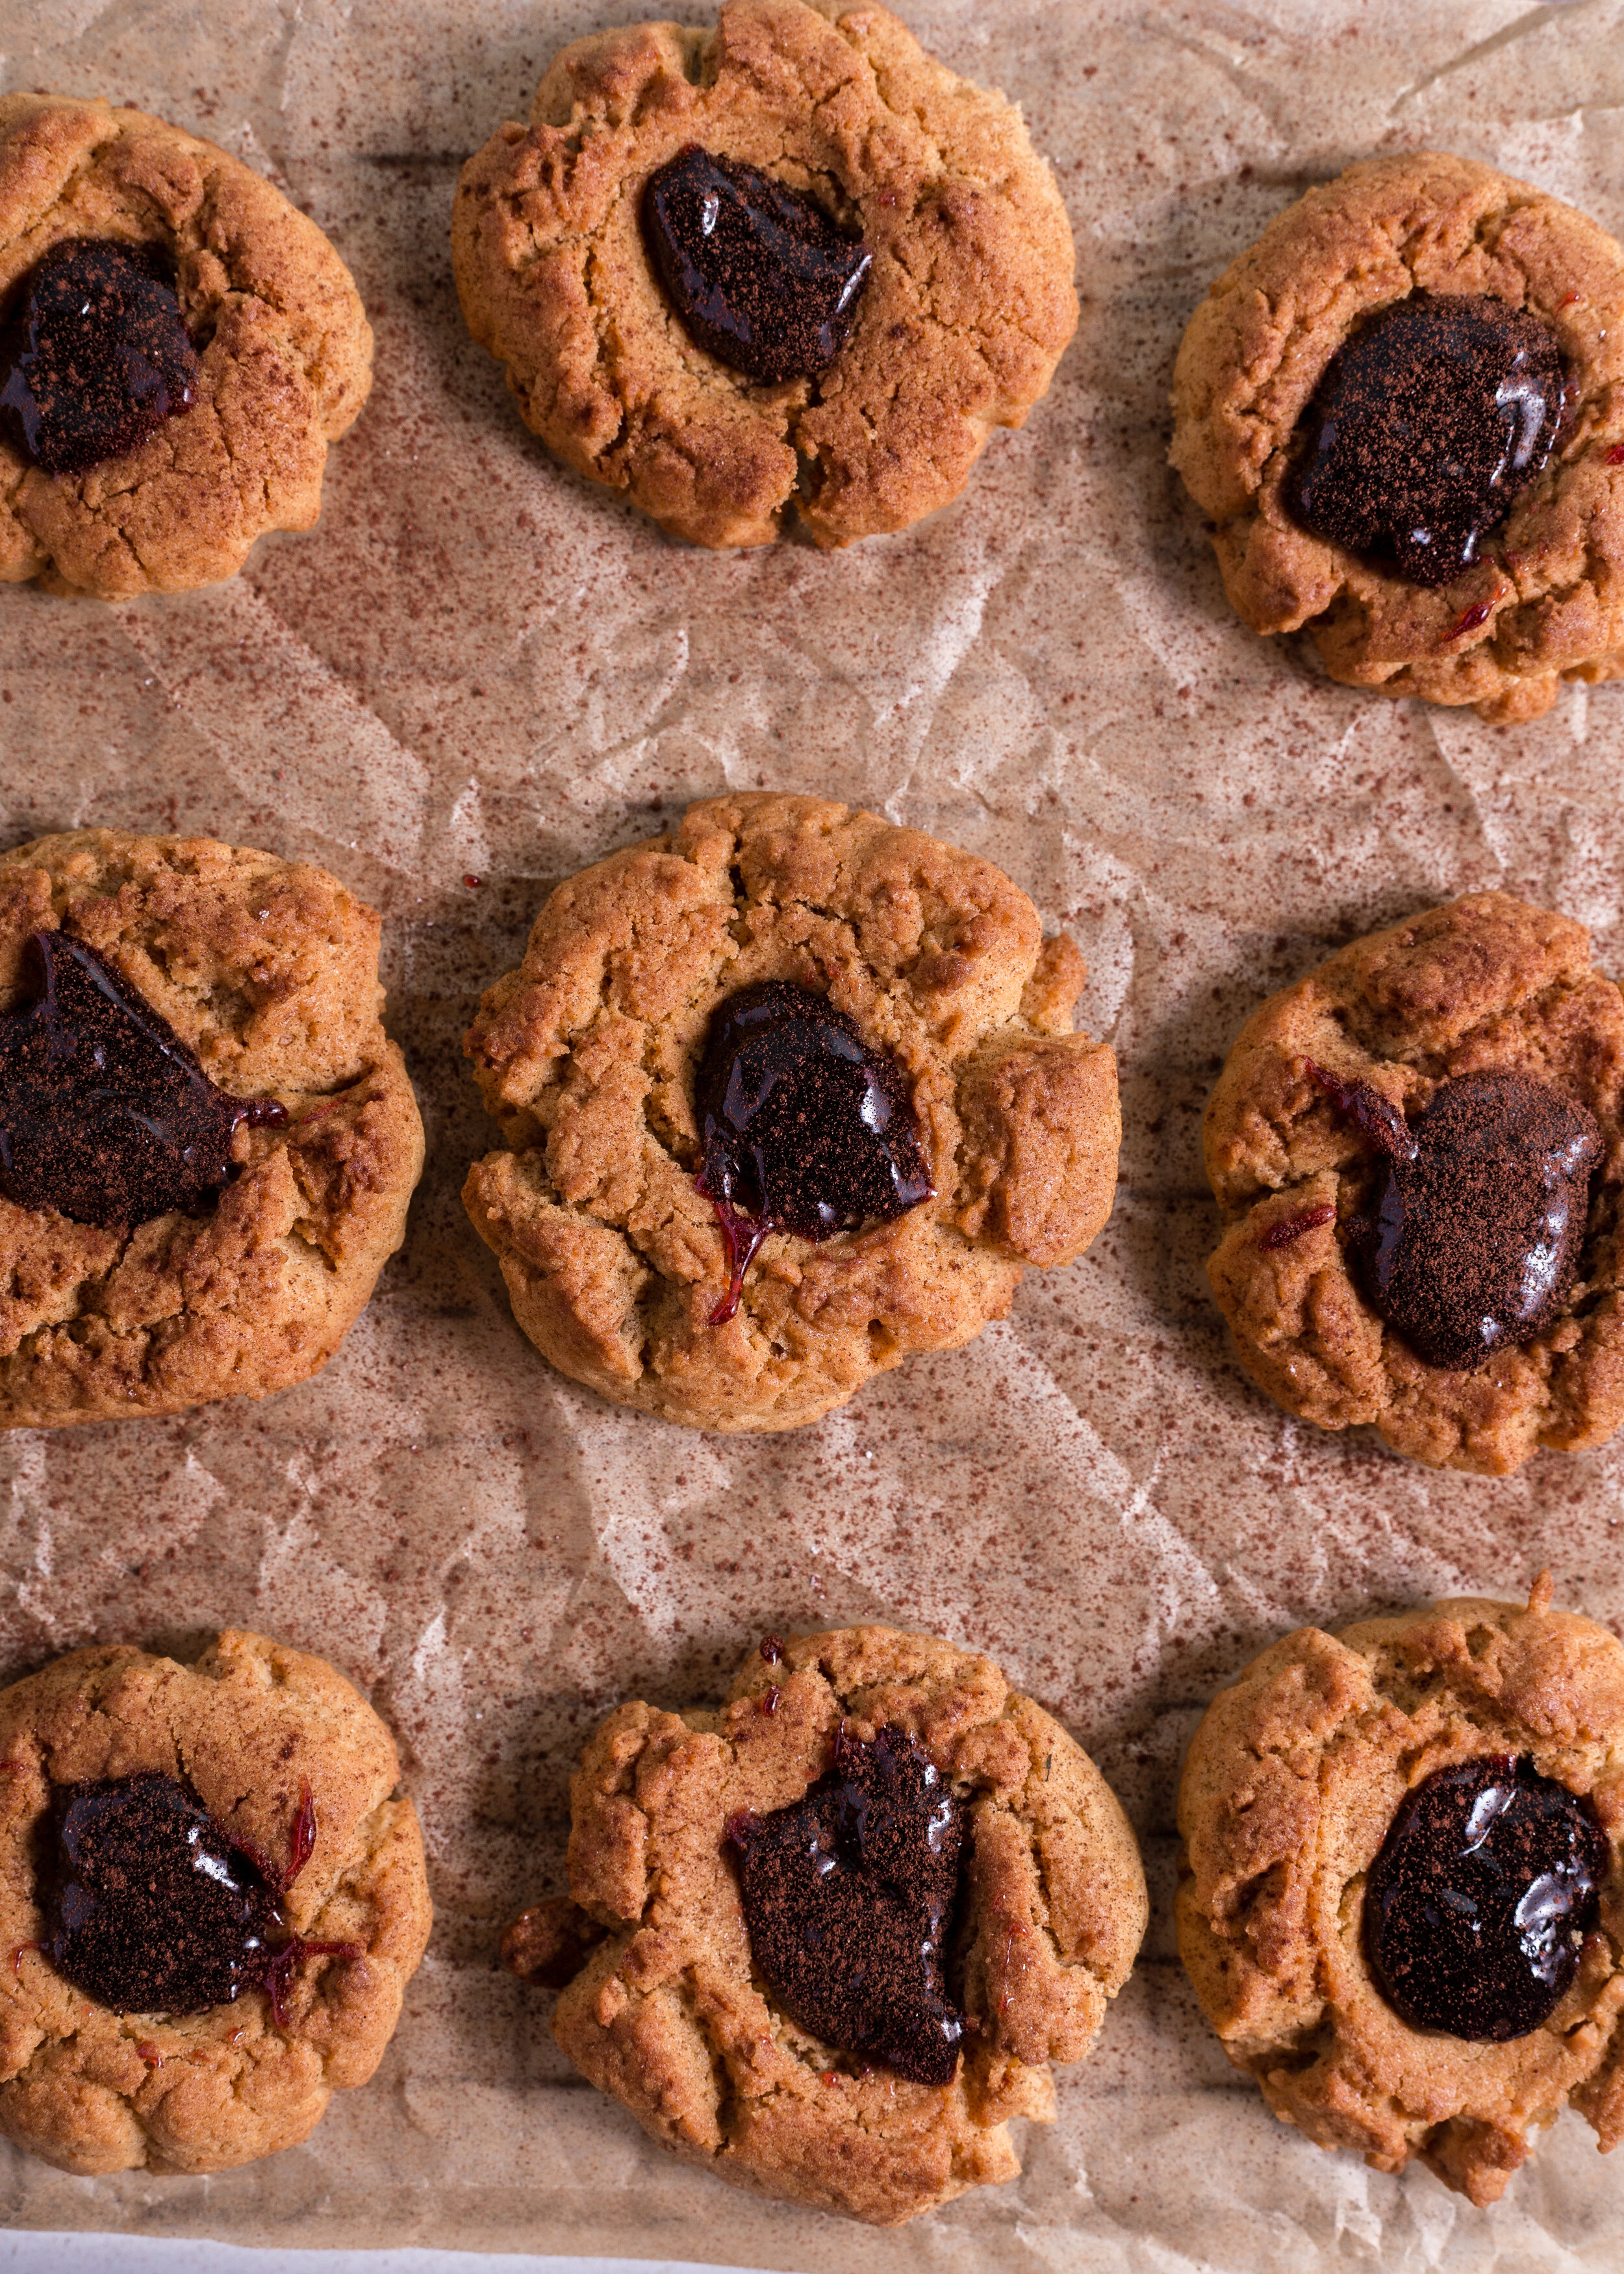
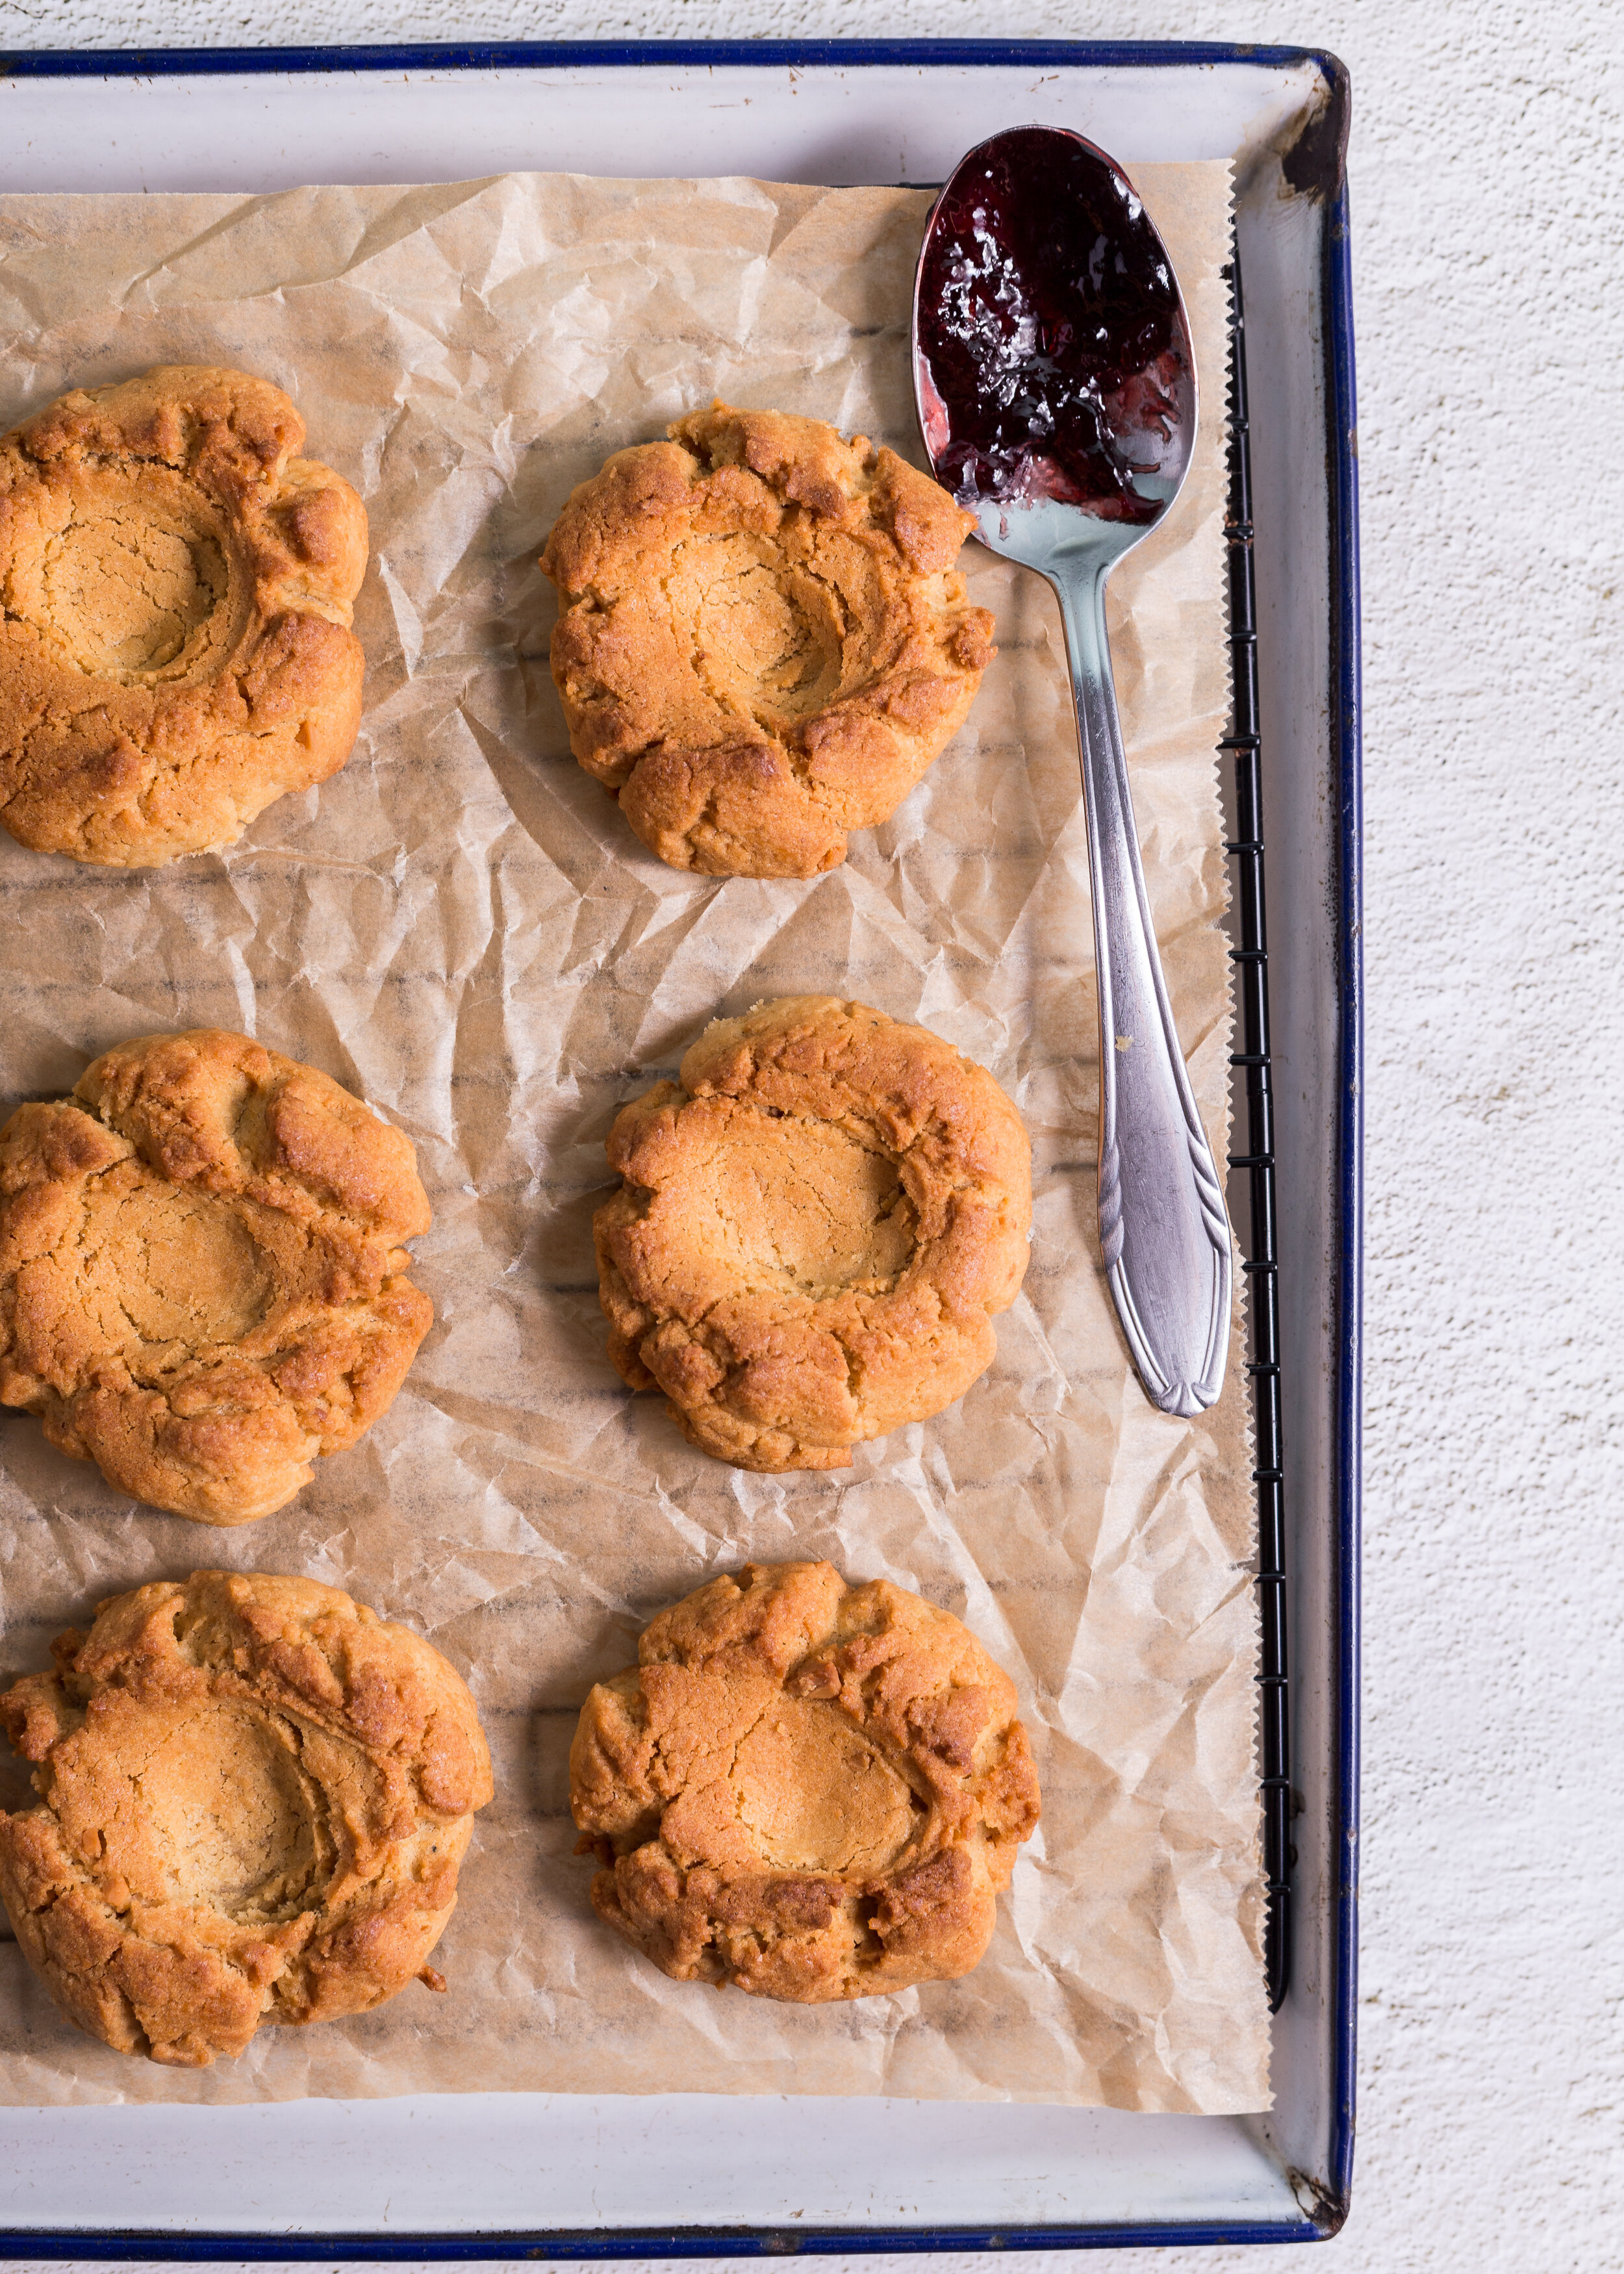
Peanut Butter and Elderberry Jelly Thumb Cookies
If you are a little behind on the times, here’s a quick catch up - it’s elderberry season. They turn their flowering buds into green berries between July and August and then come the end of August, you’ll see trees lined with a rich, bold but very delicate purple. When this purple colour shows it’s face, the making of something truely delicious is in plain sight. This means it’s time to get your hands dirty, your bodies smocked up and putting those arms in for a little elbow grease to produce something truely unique. Give those around you a show because after all they are awaiting to try what the definition of “homemade” really is.
Don’t you hate it when you buy jams or marmalades, sometimes even other spreads such as peanut butter or Nutella, from the supermarket and in clear, bold writing you read “Homemade”. Pfft. If it’s being sold in mass in any generic store, then the foundations of being homemade has long flown out the window. Homemade, by definition is;
Adjective - “made at home, rather than in a shop or factory.”
So when you buy a product that has been made, on mass, in a factory and sold, in mass, at a supermarket… HELLO!!! You cannot call your product homemade. Let’s break it down even more. If you hand and home-made products where the ingredients are available to you year round, this is great but very rare. Isn’t its funny then how you can find the same jams, jellies etc at the shops year round when you know they aren’t not farmed year round. You are eating genetically farmed, indoor generated or frozen fruits which directly effects taste and flavour. What makes homemade products even that slight more cherish-able, valuable and even a tiny bit fancy is when the ingredients are restricted, only accessible from here to there, once a year. It truely is a hot commodity because the availability is so tight, so the product you have made is limited.
We are back to the good old elderberry. A berry that seems to be surpassed by much of society, I think, based on the fact that it has a short fruiting cycle and the restrictions to eating it raw can be daunting. When I say restrictions, I mean you cannot. Elderberries are to be cooked because this is the only way to break down the glycosides elements in the berries and seed. If you eat raw, unripe elderberries, they are extremely poisons for the human body. If you eat ripe, raw elderberries you will not die, but it may cause extremely nausea, diarrhoea and vomiting. So now it’s maybe clearer as to why people assume a distance from using elderberries as much as our other berry friends - strawberries, raspberries, blueberries etc.
Using elderberries maybe a littler tighter or stricter in how and the way you use them but this shouldn’t be deemed less important to it’s other berry peers. More knowledge, more experimenting and more confidence means you can actually be the unique one in all our rather repetitive structured society.
But to change your mind, when cooked, the elderberry offers a beautifully subtle yet almost nutty flavour that lends itself to preserving, almost perfectly. Preserving doesn’t mean adding preservatives but rather cooking and adding certain acidic elements to extend the life of a fruit or vegetable. It is sealed through sterilisation methods and can be kept, unopened for years after making. You can do that all in your own home without any fancy equipment or large factory tools. Understanding and experimenting with preserving means you know exactly what goes into the sauces you make - relishes, chutneys, jams, jellies, marmalades etc. How much sugar, how much fruit (or vegetable or both), how much water, how long do you cook them for, how do you make a relish vs a chutney or jelly vs jam. Do you know all these answers? If no, don’t be ashamed or frightened to begin.
You are here so let’s start with jelly. The different between jelly and jam is simply down to the existence of whole fruit. Jams contains whole or broken down chunks of fruit where as jelly recipes will always place the cooked fruit mixture through what’s call a muslin. A muslin, or cheese cloth is a fine, woven piece of material often made from thick cotton. It comes in varying measurements but normally no smaller than 50cmx50cm. It’s original purpose was in cheese making, allowing the liquid from the curdled milk to seep out without letting any chunks through. You can think of it as a very fine sieve. Here are other alternatives if you do not have a muslin accessible to you.
Grab the recipe for homemade elderberry jelly or elderberry jam. Feeling more of a cake than cookies, try my Crumble tea cake with gooey elderberry jam which you can also substitute for elderberry jelly. Whatever your cravings, mood or personal preferences, it would almost be a sin not to get that body into the kitchen for a little cookie making saga, because who doesn’t love peanut butter and jelly sandwiches turned sweet. Experiment with jelly/jam making because it truely is a great way to understand the processes involved in making sauces and to track what goes into your mouths and bodies. Once you understand the steps, it’s as easy as cooking a cake, and will open up a world of different and new recipes to embark on plus share with loved ones. If you can make your own jelly, why not make your own thumb cookies with homemade jelly centres? Yeah, you will be the new favourite person in your neighbour, school, book club, work or all.
Peanut Butter and Jelly Thumb Cookies
Ingredients
Homemade peanut butter
300 grams raw unsalted peanuts
1/2 cup canola oil
1 pinch sea salt
1 tbsp honey
Cookies
3/4 cup butter, room temperature
1 cup brown muscovado sugar
1 cup homemade peanut butter (or 2/3 cup store bought)
2 eggs
1/2 tsp vanilla extract
2 1/3 cup all purpose flour
2 tsp baking powder
1 tsp salt
1/2 cup Elderberry Jelly
Method
To make the Peanut butter
Place the peanuts on a tray line with baking paper and roast for 5-7 minutes at 160℃, shaking the tray half way to rotate them. Remove from the oven and leave too cool for 5 minutes before placing into a blender along with the rest of the ingredients (under peanut butter). Blitz for 5-6 minutes on high until the a smooth paste forms with some larger chunks.
Reserve one cup of this for the recipe and place the rest in a jar, storing in the fridge.
To make the Cookies
In a stand electric mixer fitted with a paddle attachment, whip together the butter, sugar and peanut butter on high for 5-8 minutes or until light and fluffy. Add one egg at a time, beating between, with the vanilla being added with the second egg.
In a medium bowl, mix together the salt, flour and baking powder. Tip into the butter mixture, half in at a time, mixing between each. The final mixture should be a dough - add more flour if needed.
Clump the dough together to form a ball and cover with plastic wrap. Place in the fridge overnight.
The following day, form small tablespoon balls, placing onto a try lined with parchment paper. Once all the dough has been rolled (you will definitely need more than one tray), use your thumb to press into the centre (hence the name). You may need to fix the edge so they are more joined than split apart. Bake for 8-10 minutes at 190℃.
Remove from the oven and leave to cool for 5 minutes. Place on a serving platter and dollop teaspoon full of elderberry jelly into the thumb print.


